Why My Water Filter Has Low Flow
Your water filter’s low flow usually means something’s restricting the system: a clogged cartridge or carbon prefilter, overly fine media, trapped air, or wrong installation. Check for brown or grimy prefilter buildup. Compare flow before and after the housing; inspect for kinks and low inlet pressure. Reseat O-rings or purge air.
Replace cartridges every 6–12 months and follow backwash/service flow specs. Keep going to see specific troubleshooting steps and replacement timing.
Quick Overview
- Clogged cartridge or carbon prefilter with brown or grimy coating restricting flow.
- Fine media or high micron reduction increases pressure drop and lowers GPM.
- Small tank diameter or undersized system cannot support required service or backwash flow.
- Trapped air, kinked tubing, or incorrect cartridge installation causing sputtering or bypass leaks.
- Aged or chemically fouled RO membrane or cartridge losing capacity after recommended service interval.
Flow Rate Comparison Chart
How do different filters actually affect the water coming from your tap? You’ll see flow rate vary with micron rating, media surface area, and tank diameter. Finer media (0.5–3 µm) gives better filtration; however, it creates greater pressure drop and lower GPM. Bigger tanks with larger tank diameter support higher service and backwash flows. Therefore, choose by household demand.
Watch for signs: weak faucet flow or slow appliances. Those point to excessive pressure drop or undersized media area.
| Filter Type | Typical Flow Rate | Notes |
|---|---|---|
| 0.5 µm carbon | 8 GPM | Fine, high pressure drop |
| 10″ cartridge | 8 GPM | Small tank diameter limits flow |
| 12″ tank | 11.7 GPM | Larger diameter boosts service rate |
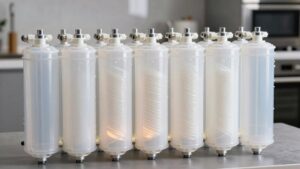
Filter Cartridge Replacement Schedule
When should you replace your filter cartridges? You should base replacement on use, water quality and pressure loss: cartridge filters usually need changing every 6–12 months, while RO membranes last 2–3 years. Track symptoms like brown discoloration, taste shifts, or steady flow decline.
Check monthly for pressure drop and visible dirt as part of maintenance scheduling. Follow manufacturer intervals; adjust earlier for high-sediment supplies using two word discussion ideas like “usage level” and “water quality.” Keep a simple log with install dates, observed flow rates, and replacement notes to spot trends.
Replace sooner if flow or quality worsens. Timely swaps prevent downstream problems and restore normal output.
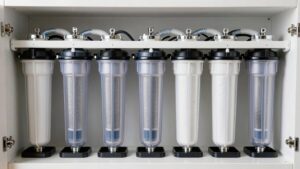
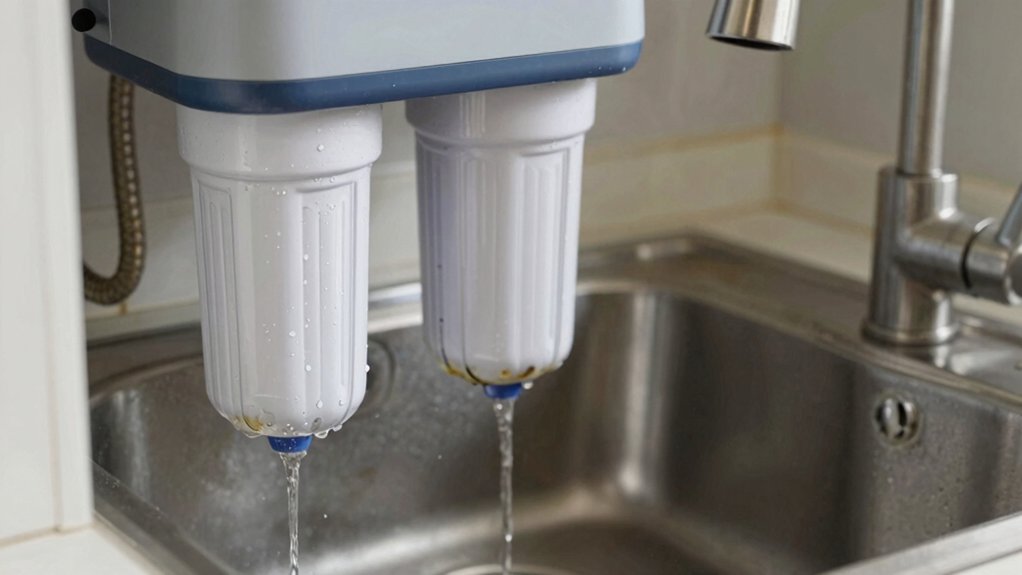
Clogged Carbon Prefilter Troubleshooting
Start by inspecting the carbon prefilter for visible blockage: brown or black buildup and compacted debris will cut flow. If pressure drops or you hear gurgling, check for trapped air, incorrect cartridge seating, or kinked tubing that’s restricting supply.
Also look for chemical fouling signs, such as odd odors or slimy residue; these mean the cartridge needs immediate replacement.
Visible Prefilter Blockage
Noticing a brown or grimy carbon prefilter is your clearest sign that it’s clogged and needs immediate attention. You’ll visually confirm a visible prefilter blockage when debris, rust, or dark particles coat the cartridge surface. Don’t guess; compare flow rate comparison readings before and after the prefilter housing: a sharp drop indicates restriction at that stage.
Remove the housing, inspect the cartridge, and hold it to light. Heavy discoloration or compacted material means replacement now. If you’re unsure, swap in a new cartridge and recheck flow. Restored flow points to the prefilter as the culprit.
Replace cartridges every 6–12 months under normal conditions; sooner with high sediment. Always flush new cartridges per manufacturer instructions.
Reduced Water Pressure
If your flow improved after swapping a visibly blocked prefilter but pressure still feels weak at the faucet, a clogged carbon prefilter may be restricting water before it reaches the membrane. Check the carbon cartridge for dark staining, oily films, or a foul odor: these signs mean adsorption sites are loaded and flow is inhibited.
Replace the carbon element and run water until clear. If pressure rises, you diagnosed it. Don’t dismiss the carbon as an irrelevant topic or chase an unrelated issue like tank bladder failure yet. If replacement doesn’t help, inspect inlet pressure and tubing for kinks.
Log filter change dates and water quality; frequent carbon clogging suggests high organic load and you’ll need shorter change intervals to prevent recurring reduced pressure.
Trapped Air Issues
Why is your carbon prefilter gurgling or delivering sputtery flow? Air trapped in the housing or media often causes intermittent sputtering, reduced flow, and gurgling noises. First, shut off feed water and relieve pressure. Then, open the housing slowly to check for trapped air pockets.
If you see bubbles or hear escaping air, reseat the O-ring and reassemble. Perform an air purge by briefly opening the feed with the outlet directed to drain to force air out; repeat until flow steadies. Inspect the inlet tubing for high points where air can collect, and lower or add a loop to encourage venting.
If problems persist, replace an aging carbon cartridge. Internal channels clogged with debris can trap air and mimic low-flow issues.
Incorrect Cartridge Installation
How did the carbon cartridge get fitted the wrong way? What that means for your flow is this: a misaligned or upside-down cartridge can pinch bypass seals, jam internal channels, or leave gaps where water bypasses the media. This can produce low or sputtery output.
Check for incorrect installation by shutting off feed, relieving pressure, and opening the housing. Inspect orientation marks and O-rings; improper seating often shows uneven gaps or a twisted seal. Re-seat the cartridge, clean the cavity, lubricate O-rings lightly, and tighten to spec. If flow improves, run water to flush trapped air and debris.
If not, swap in a known-good cartridge to rule out a damaged part. Document fitment and replace seals if you see wear.
Chemical Fouling Signs
After you’ve confirmed cartridge orientation and seating, check the carbon prefilter for chemical fouling signs that can mimic mechanical clogs. You’ll look for discoloration, sticky or gummy residues, unusual odors, or a rapid drop in flow rate despite an otherwise clean-looking housing. Chemical fouling happens when organics, chlorine byproducts, or iron coatings saturate the carbon surface and block adsorption sites, reducing throughput.
To diagnose, isolate the prefilter and run water bypassed or with a new carbon cartridge; if flow rate restores, the prefilter’s chemically fouled. Replace the cartridge and consider upstream pretreatment (sediment filter, iron removal) or more frequent changes. Record replacement intervals and water quality to prevent recurrent chemical fouling.
Frequently Asked Questions
How Does Tank Air Pressure Affect RO Output?
Low tank pressure cuts your RO output because the tank can’t push water to the faucet, so you’ll get slow flow despite normal membrane efficiency. If the bladder’s under 7–8 psi (empty tank), water delivery drops and the membrane backs up; this reduces throughput.
You should check and re-pressurize the tank, replace a failed bladder, and then test output. Restoring tank pressure immediately improves usable flow and overall system performance.
Can Hard Water Scale Be Chemically Removed From Membranes?
Yes, you can chemically remove hard water membrane scaling. You’ll use acid cleaners (citric, phosphoric, or diluted hydrochloric) to dissolve calcium/magnesium deposits and specialized alkaline cleaners for organic/iron foulants.
Follow manufacturer guidelines: isolate the membrane, circulate the correct cleaner concentration and temperature, then thoroughly rinse. If scaling is severe or membrane age exceeds 2 to 3 years, cleaning may be ineffective; replacement will be necessary.
Test performance after cleaning.
Will a Booster Pump Damage My Existing Filter System?
You won’t usually damage your system if you match booster pump pressure and filter compatibility. Check your RO’s max inlet pressure and membrane specs; use a pump designed for RO service and install a pressure relief or regulator.
Too much continuous pressure or incompatible pumps can stress housings, seals, or membranes. Have tubing, fittings, and pre-filters rated for higher flow, and monitor for leaks or reduced performance after installation.
How Do I Test Inlet Water Pressure at the Valve?
Attach a pressure gauge to the inlet valve testing port or to a nearby hose bib after closing the system feed. Open the valve slowly, let pressure stabilize, and read the water pressure measurement.
If you don’t have a port, shut downstream valves. Connect a gauge to the feed line or use a T-valve adapter. Compare readings to required psi (typically 40+ psi for RO) to diagnose low-flow causes.
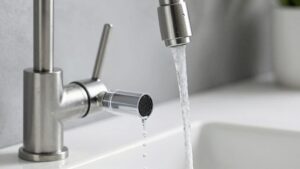
Are Faucet Aerator Clogs Affecting Filtered Water Flow?
Yes, faucet aerator clogs can reduce filtered water flow. You’ll diagnose by removing the aerator, checking for mineral or debris buildup, and running the faucet without it. If flow improves, clean or replace the aerator to restore performance.
Regular aerator maintenance prevents flow obstruction and uneven pressure. Also, inspect tubing and restrictors downstream; if problems persist, test inlet pressure and check filter or membrane condition.
Conclusion
If your water filter’s flow is low, start by checking the flow chart and replacement schedule to rule out age or wrong cartridge type. Inspect the carbon prefilter for visible clogs or chemical fouling. Verify fittings and O-rings are seated correctly; misalignment traps air or redirects flow.
Test incoming water pressure and bleed trapped air. Replace any fouled or clogged cartridges. Then recheck flow; if problems persist, get a technician to diagnose internal or plumbing issues.