How to Find Your Refrigerator Water Filter Model Number
You’ll find the water filter model by inspecting the fridge interior and exterior label locations: ceiling, inside walls, door frame, back, kickplate and the filter housing or cartridge itself.
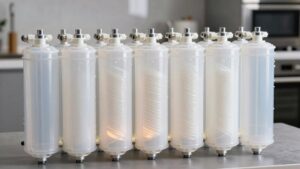
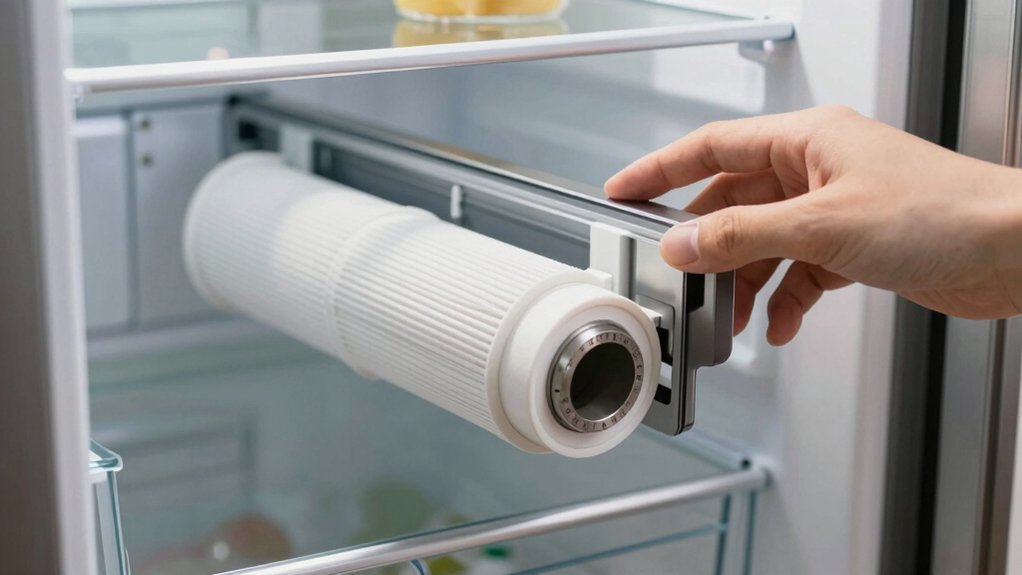
Open the filter area and remove the cartridge to read the full alphanumeric code printed on the body or sticker.
If the tag’s missing, use the appliance model/serial on the manufacturer’s site to cross-reference OEM filter codes.
Keep the exact number handy to verify fit and specs as you continue.
Quick Overview
- Locate the appliance model number on the fridge (ceiling, door frame, back panel) to cross-reference filter compatibility.
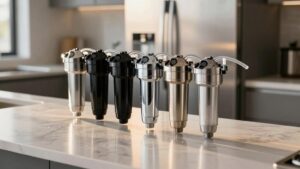
- Inspect inside the filter area and filter housing for a label or molded part number on the cartridge or sticker.
- Remove the filter safely and record the full OEM alphanumeric part number printed on the filter body.
- If the filter label is missing, use the refrigerator model number or serial to search the manufacturer’s parts list or manual.
- Measure cartridge length, outer diameter, and connector type if numbers differ. Confirm fit with manufacturer support.
Model Number Location Chart
Where should you look first? You’ll inspect common locations systematically: ceiling, door frame, freezer wall, back and kickplate. Use the chart below to prioritize checks and avoid an irrelevant subtopic or unrelated discussion.
| Location Group | Typical Spots | Action |
|---|---|---|
| Interior | Ceiling; inside walls; floor bottom | Read metal tag/sticker; note full model # |
| Exterior | Door frame; inside door (Whirlpool); back; kickplate | Open door; crouch to view label |
| Filter-specific | Filter body; housing; filter sticker | Remove filter safely; log part number |
Collect the full model number (letters + numbers + letters). If the label is missing, consult the manual or manufacturer site with the appliance serial and first 8 digits for GE.
Filter Replacement Frequency Guideline
How often should you replace your refrigerator water filter? Replace it at manufacturer-recommended intervals: typically every 6 months or 2,000 gallons, unless water quality or flow suggests sooner. Track runtime and gallons to avoid microbial growth and performance loss. This preserves system integrity and reduces warranty implications if you follow specified service intervals.
Inspect flow rate and taste monthly; change early if you detect decline. Note recycling considerations: recycle cartridges per local programs or return-to-manufacturer schemes to reduce waste. Record filter model and replacement dates in your owner’s manual or app for service history and warranty proof.
Follow these practical, technical steps to maintain filtration effectiveness and protect warranty coverage.
Exact OEM Part Compatibility
To ensure a perfect fit, match the OEM part number printed on your refrigerator to the replacement filter. Confirm the manufacturer compatibility, check the filter specs and physical dimensions, and verify the connector type before ordering.
If any detail differs, contact the manufacturer or compare measurements to avoid leaks or improper filtration.
Match OEM Part Number
Want to guarantee exact compatibility? Match the OEM part number printed on the filter or in your manual. Don’t rely on unrelated topic cues or random speculation from forums; use the exact alphanumeric code.
Compare the OEM number character-for-character: letters, numbers, dashes, and spacing can indicate revisions or submodels. If the filter label is worn, extract the number from the refrigerator’s documentation or manufacturer lookup tool. Cross-check the OEM number against vendor listings and the manufacturer’s parts database to confirm the same revision and release year.
When replacements list multiple equivalent part numbers, verify they explicitly state “OEM” or “replaces” with the exact original number. Save the confirmed OEM number for future orders and maintenance records.
Confirm Manufacturer Compatibility
Why verify the OEM part number before buying? You need exact OEM part compatibility to avoid leaks, poor filtration, or voided warranties. First, clarify compatibility by matching the OEM part number on the filter or manual to the manufacturer’s published list.
Use the fridge model number and the OEM filter code to verify model alignment on the maker’s website or parts database. If numbers differ, contact manufacturer support with both codes. They’ll confirm cross-reference or superseded part numbers.
Don’t rely solely on visual fit or generic descriptions. Record the confirmed OEM number and any alternate part numbers before purchasing. This ensures you get a factory-approved filter that fits and performs as designed.
Check Filter Specs
How do you confirm a filter’s specs match your refrigerator’s OEM requirements? Start by comparing OEM part numbers and published specifications from the manufacturer. Cross-check micron rating, NSF/ANSI certifications, flow rate, and connection type against the OEM sheet or manual.
Don’t rely on generic descriptions from third-party sellers; request datasheets that list exact part equivalence and test standards. Verify cartridge end-cap geometry, seal type, and bypass features match the OEM design; these affect sealing and performance even if a non-filter component looks similar. If specs differ, contact manufacturer support with your appliance model and proposed part number.
Keep documentation of compatibility claims and certification numbers before purchasing to ensure exact OEM part compatibility and avoid installation or performance issues.
Verify Physical Dimensions
Where should you start when confirming an exact OEM fit? Begin by removing the old cartridge and taking basic measurements: overall length, outer diameter, inlet/outlet spacing and thread/pin seat depth. Use calipers for accuracy and record values to the nearest millimeter.
Next, compare those measurements against OEM specifications; don’t rely solely on model names. A physical verify physical dimensions check prevents buying a filter that looks similar but won’t seal or lock properly. Note any tapered sections, O-ring locations, and mounting flange profiles.
If tolerances are borderline, consult the manufacturer’s spec sheet or support with your measurements. Keep your notes; precise dimension verification is the fastest way to ensure exact OEM part compatibility.
Inspect Connector Type
Which connector does your refrigerator use? Inspect connector visually and compare it to OEM diagrams or photos to confirm exact type: push-fit, bayonet, threaded, or proprietary snap. You’ll want to identify harness routing and pin count if the filter includes an electrical sensor. Note wire colors, clip orientation, and locking tabs.
Disconnect power and water before testing fit. Measure connector dimensions: outer diameter, insertion depth, and latch location. Cross-reference these details with the refrigerator model or owner’s manual to confirm exact OEM part compatibility. If diagrams aren’t clear, photograph the connector and identify harness layout when contacting manufacturer support or using online filter-finder tools to ensure you order the correct replacement.
Frequently Asked Questions
Can I Use Third-Party Filters Safely With My Refrigerator?
You can use third party filters, but you’ll need to resolve compatibility questions first. Verify physical fit, filter type, flow rate, micron rating, and NSF/ANSI certifications.
Check manufacturer guidance to avoid voiding warranties and ensure pressure/seat sealing match OEM specs. Test water taste and inspect for leaks after installation. If uncertain, contact manufacturer support or choose certified third-party brands with clear compatibility charts and validated performance data.
How Do I Reset the Filter Change Indicator Light?
You reset the filter change indicator light by using the fridge’s control panel: press and hold the filter reset or water filter button for about 3–5 seconds until the indicator reset completes and the light goes off.
If your model lacks a labeled button, press and hold the light, alarm, or energy saver button per the manual. Some units require a quick power cycle (unplug 30 seconds).
Use reset reminder procedures in your owner’s manual.
Do Filters Affect Water Taste Immediately After Installation?
Yes, filters can affect water taste immediately after installation. You’ll often notice slight changes because new cartridges release carbon fines and trapped manufacturing residues.
During initial flushing, taste and odor should improve as the filter beds activate; run the recommended 2–4 gallons or specified number of cups. If off-flavors persist after flushing, check installation, ensure correct filter model, and contact manufacturer support for replacement or troubleshooting.
Where Can I Recycle or Dispose of Old Water Filters?
You can recycle or dispose of old water filters at municipal hazardous waste centers, participating retailer take-back programs, or manufacturer mail-back/recycling schemes. Follow local recycling options and disposal guidelines for plastic and activated carbon components.
If none exist, bag the filter, label it, and place it in regular trash per local rules. Contact your municipality or manufacturer for specific instructions and approved drop-off locations to ensure compliant handling and material recovery.
Can a Clogged Filter Damage My Refrigerator’s Water Dispenser?
Yes, a clogged filter can cause water dispenser damage. You’ll see reduced flow, strain on the dispenser pump, and pressure imbalances that stress seals and valves.
Over time, this can cause leaks, motor wear, or electronic faults. Replace or clean the clogged filter promptly; check for flow rate recovery. Inspect dispenser components for leaks or unusual noises to prevent lasting water dispenser damage and maintain proper operation.
Conclusion
You’ve now got the steps to identify your refrigerator water filter quickly: check the model-number chart, locate the OEM part number, and confirm manufacturer compatibility.
Match specs and physical dimensions, and inspect the connector type to guarantee a proper fit. Replace filters according to the recommended schedule to maintain water quality and system performance.
When in doubt, cross-reference the OEM number with verified parts suppliers or consult the fridge manual for exact compatibility.