How to Clean a Water Cooler Dispenser Safely
You should clean your water cooler every 1–3 months depending on use.
You should clean it more often in shared or healthcare settings.
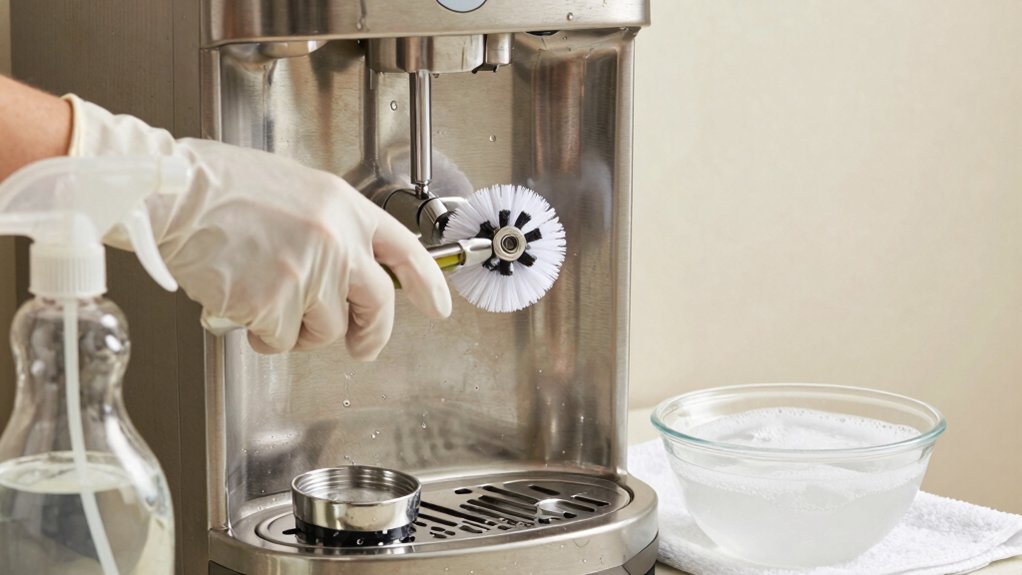
Turn it off, empty reservoirs, disconnect power and water, then scrub bottles, spigots, drip tray and reservoir with an EPA-approved disinfectant or diluted bleach.
Rinse thoroughly, and reassemble with manufacturer parts.
Check seals, lines and for drips.
Tighten fittings or replace damaged components.
Follow logs and regs to stay compliant; keep going to learn step-by-step procedures.
Quick Overview
- Turn off power and water, unplug the unit, and drain all reservoirs before beginning any cleaning or inspection.
- Clean external surfaces, drip tray, and spigot bases with an EPA-approved disinfectant or mild bleach solution.
- Remove and sanitize bottle connection, spigots, and seals. Replace cracked or hardened seals with manufacturer parts.
- Sanitize internal reservoirs with recommended solution; rinse thoroughly. Reassemble and perform a controlled refill to verify cleanliness.
- Log the cleaning (date, staff, method); follow scheduled intervals based on use. Document any leaks or repairs for corrective action.
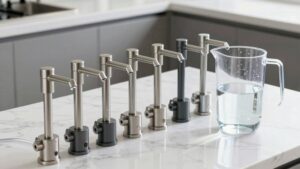
Bottle Capacity Comparison
How much water you need and how often you dispense it determines which cooler capacity fits your space and safety requirements. You’ll compare common bottle capacity options: countertop (≈3 gal), floor-standing (5 gal), and high-demand (5+ gal equiv.). You will assess if bottleless models with water filtration better meet hygiene and regulatory needs. Choose larger tanks where frequent dispensing risks contamination or overheating small units.
Bottleless units reduce handling but add filter maintenance and cost; check RO/UF specs and service intervals. For safety, follow manufacturer load instructions and consider touch-free fillers for shared spaces. Use the table below to match capacity to use case and compliance considerations.
| Capacity | Typical Use |
|---|---|
| 3 gal | Personal/low use |
| 5 gal+ | Offices/high use |
Sanitization Frequency Checklist
Now that you’ve matched bottle capacity and usage needs, set a clear sanitization schedule tied to that use: clean every 3 months for low-use or personal units; every 1–2 months for shared office coolers; and monthly (or more often) for high-traffic or healthcare settings. You’ll document sanitization frequency and adhere to regulatory expectations. Use clear logs noting date, staff, and method. Follow these cleaning intervals strictly to reduce microbial risk and maintain warranty coverage.
- Low-use/personal: every 3 months; simple self-clean and record.
- Shared office: every 1–2 months; include supervisor inspection and log.
- High-traffic/healthcare: monthly or more; require EPA-approved disinfectant and certified recordkeeping.
Treat deviations as noncompliance and correct immediately.
Leak Detection and Repair Tips
Before you finish cleaning, check for visible drips around the base and under the spigots to catch active leaks early. Inspect supply lines and spigot seals for cracks or wear. Test the internal reservoir for slow seepage and tighten any loose fittings you find.
If a seal or line is damaged, follow the manufacturer’s repair or replacement guidance to maintain safety and warranty compliance.
Check For Visible Drips
Why not start by visually inspecting the cooler for any drips or puddles beneath the unit and around the spigots? You should check drips at the drip tray, faucet bases, and bottle connection points. Any wetness can indicate a failing seal or loose fitting.
Wear gloves, place absorbent towels, and note drip locations before moving the unit. If you spot leaks, turn off power and water supply where applicable, and empty reservoirs to prevent electrical or slip hazards.
Tighten accessible fittings per the manufacturer’s guidance and replace damaged washers or seals with approved parts. Document findings and, if leaks persist or involve internal components, schedule professional service to ensure compliance with safety and sanitary regulations.
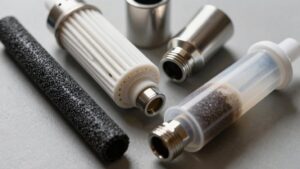
Inspect Supply Lines
After you’ve noted any visible drips and addressed obvious seal issues, move on to inspect the supply lines for hidden leaks or wear. You’ll follow an inspection schedule: check lines at initial cleaning and at each quarterly or biannual service.
Visually examine hoses for cracks, bulges, kinks, discoloration, or loose fittings. Run your hand along connections to feel for dampness. If you detect deterioration or seepage, replace the affected hose immediately with manufacturer-approved parts to preserve supply line integrity and comply with safety guidance.
Tighten fittings to spec; don’t overtighten plastic connectors. Document findings and corrective actions in maintenance records. If you’re unsure about a repair, stop and consult a certified technician to avoid contamination or water damage.
Examine Spigot Seals
How will you know if a spigot seal is failing? Check for steady drips from the faucet when no water’s being dispensed and for pooling beneath the dispenser. You’ll also notice slower flow or intermittent leakage during dispensing.
Inspect spigot seals visually for cracks, hardening, or compression set; replace any seal showing deformation. Match replacement parts to the manufacturer’s specifications and bottle capacity to ensure proper pressure and fit.
Always unplug the unit and drain reservoirs before servicing. Wear gloves, follow the user manual, and test after reassembly using a small water volume to confirm the repair. If leaks persist or you can’t source correct seals, engage a qualified service technician to prevent contamination or damage.
Test Internal Reservoir
Wondering whether your cooler’s internal reservoir is sound? You should inspect for leaks and signs of wear methodically. Shut off power, drain reservoirs, and remove access panels per the manufacturer’s instructions before probing.
Look for wet spots, corrosion, or mineral deposits that indicate breaches; even small defects raise contamination risk. Apply a clean paper towel around seams and fittings, pressurize briefly by filling with water, then check for dampness. If you find a slow leak, document its location, turn off the unit, and replace damaged gaskets or seals with manufacturer-approved parts.
For unclear faults or internal cracks, stop use and contact a certified technician. Maintain records of inspections to meet safety and regulatory expectations.
Tighten Loose Fittings
If you find a drip or dampness around fittings, act promptly to prevent water damage and bacterial contamination. Inspect all visible connections, including spigots, hose clamps, and reservoir seals, for signs of looseness or wear.
With the cooler unplugged and drained, hand-tighten threaded fittings; use a wrench only if specified by the manufacturer to avoid overtightening. Replace or reseat worn washers and compression rings rather than forcing failing parts. After tightening, sanitize contact areas per the cleaning protocol and run a controlled fill to verify no leaks.
Document any recurring leaks and consult the manual or a qualified technician if tightening doesn’t stop seepage. Maintaining secure fittings prevents contamination and preserves safe, compliant operation of the dispenser.
Replace Damaged Components
Where did that leak start, and how long has it been dripping? Inspect visible joints, spigots, and the bottle seal immediately. If you spot corrosion, cracks, or persistent seepage, stop using the unit and unplug it before proceeding.
Document the fault. Then obtain manufacturer-approved parts to replace damaged elements; unauthorized parts can void warranties and create hazards. For component replacement, follow the user manual’s step-by-step guidance: drain reservoirs, remove the faulty part, fit the new component, and torque fittings to specified values.
After reassembly, run a sanitation cycle and perform a pressure and leak test. If leaks persist or the repair exceeds your skill level, engage certified service personnel to ensure compliance with safety and health regulations.
Frequently Asked Questions
Can I Use Scented Vinegar or Essential Oils When Sanitizing the Cooler?
No, you shouldn’t use scented vinegar or essential oils when sanitizing the cooler. For safety considerations, fragrance additives can leave residues, interfere with disinfection, and contaminate potable water. Regulatory guidance favors plain white vinegar or diluted bleach at specified concentrations.
Stick to approved solutions and rinse thoroughly until odors are gone. Follow manufacturer instructions. If you want scent, use only food-safe methods after full rinsing and safety checks.
How Long Should a Replacement Bottle Sit Before Installation?
You should let a replacement bottle sit upright for at least 5–10 minutes before installation. Replacement bottle timing matters because trapped air and temperature equalization reduce spills and splashing during installation practices.
You’ll also inspect the cap for damage, wipe the neck with a clean cloth, and avoid scented additives. Follow manufacturer guidance and local regulations. If unsure, extend waiting to 15 minutes to ensure safer handling and proper seal engagement.
Can I Run the Cooler Continuously During Cold Weather?
Yes, you can run the cooler continuously in cold weather, but monitor for continuous operation in cold weather risks and energy efficiency concerns. You’ll want to follow manufacturer temperature limits. Prevent freezing by keeping it indoors or insulated, and watch condensers for reduced airflow.
Regulatively, do not bypass safety thermostats or heaters. If in doubt, contact the maker or a technician to avoid damage, inefficiency, or voiding warranties.
Is It Safe to Use a Dishwasher for Removable Parts?
Yes, you can sometimes use a dishwasher for removable parts, but check dishwasher compatibility first. You’ll want to follow manufacturer guidance to ensure removable parts safety; high heat or harsh detergents can warp plastics or damage seals.
If the manual prohibits dishwashing, hand-wash with vinegar solution or mild detergent and rinse thoroughly. Always dry parts completely, reassemble per instructions, and run a disinfecting cycle on the unit after cleaning.
Do Water Coolers Affect Indoor Humidity Levels?
Yes, you’ll notice minor humidity fluctuations from a water cooler, especially in small, poorly ventilated rooms. You should monitor them. Regulate placement and ventilation to prevent excess moisture; elevated humidity can encourage bacterial growth around spigots and drains.
Follow manufacturer guidelines and clean on schedule. Use proper disinfectants and avoid closed spaces; doing so keeps humidity stable and reduces regulatory or health concerns.
Conclusion
You’ve covered bottle capacity, sanitization frequency, leak detection, and repair steps. Now act. Follow the checklist, inspect supply lines and spigot seals regularly, and test the internal reservoir after cleaning.
Tighten any loose fittings and replace damaged components immediately to meet safety standards and avoid contamination. Keep records of sanitization dates and repairs so you’ll comply with regulations and protect users’ health.
Don’t skip small fixes; they prevent bigger risks.
You may also like: To Sanitize A Hydration Bladder — a related guide worth bookmarking.
You may also like: Water Coolers Cleaning Tablets — a related guide worth bookmarking.