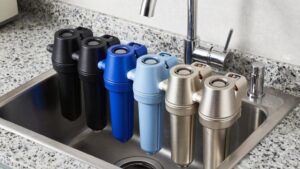
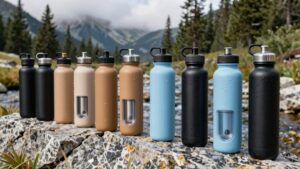
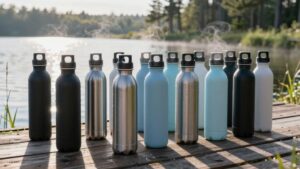
How to Sanitize a Hydration Bladder
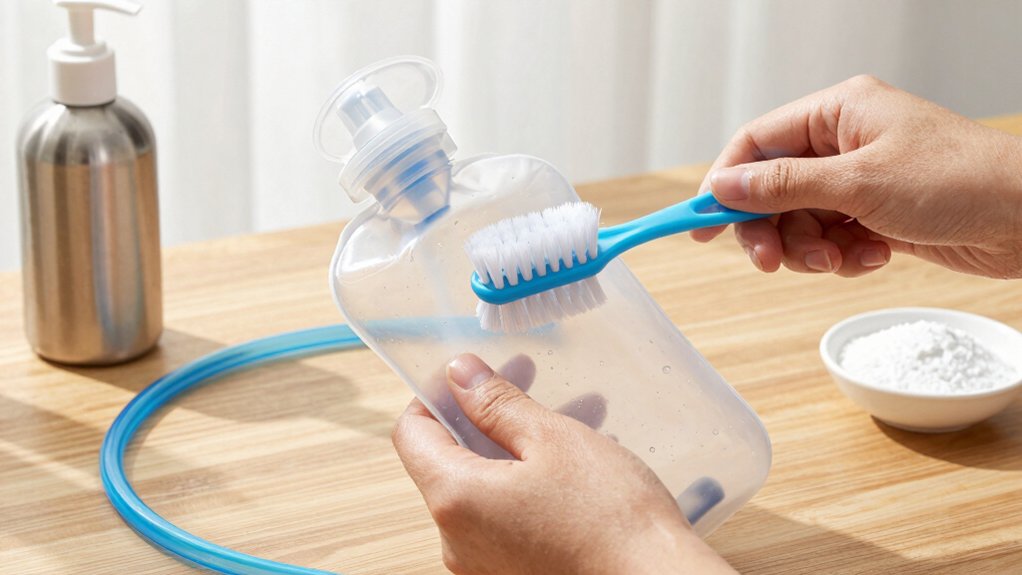
You should clean your hydration bladder after each use by disassembling the reservoir, tube, and bite valve. Then soak in warm water with a mild cleaner (baking soda, lemon, or a dilute bleach mix: 1 tsp per 1.5 L) for 30–60 minutes depending on size. Scrub porous plastic and tubing with appropriate brushes. Rinse thoroughly until no scent remains and air-dry fully inside-out before storing.
Follow-up steps cover mold inspection, deep cleaning, and tube care.
Quick Overview
- Empty, disassemble, and flush the bladder, hose, and bite valve before applying any cleaner.
- Soak parts in a mild bleach solution (1 tsp bleach per 1.5 L water) for 30–60 minutes with occasional agitation.
- Use tube brushes and scrub porous plastic walls and the interior of the hose to remove biofilm.
- Rinse thoroughly with warm water until no cleaner smell remains. Then, air-dry completely inside-out.
- Replace tubing or valves that show cloudiness, cracks, persistent odor, or visible mold.
Capacity, Material, Cleaning Time
How much your bladder holds and what it’s made of change how you clean it: Larger reservoirs need proportionally more cleaner and often longer soaks. Porous plastic walls require mechanical scrubbing to remove biofilm. You’ll apply capacity considerations by scaling dosages: one teaspoon bleach per 1.5 L, more for bigger packs. Extend soak time for larger volumes.
Check material properties: Porous plastics need brush scrubbing, tolerate warm (≈140°F) but not boiling water, and accept baking soda, lemon, or mild bleach. Balance soak duration (30–60 minutes typical) with agitation and rinsing. Follow with full air drying. Use the quick reference below to plan volume, solution, and action.
| Volume | Action |
|---|---|
| 1 L | Standard dose, 30 min soak |
| 1.5 L | 1 tsp bleach, 30–60 min |
| 2 L | +proportional cleaner, 45–60 min |
| 3 L | Extended soak, vigorous scrubbing |
| Any | Warm water, rinse, dry |
Bpa-Free Tubing Checklist
Want tubing that won’t leach chemicals into your drink? Choose BPA-free tubing and inspect it regularly. Check flexibility, clarity, and manufacturer’s stamp: those tell you material quality. Shorten cleaning time by designing for easy flushing and quick-dry. Replace tubes showing cloudiness, cracks, or persistent odor.
Look for clear labeling: “BPA-free” plus PVC-free where possible. Prioritize detachable sections for faster cleaning time and thorough rinsing. Use tube brushes that match diameter to avoid missed biofilm.
You should rinse after every use, soak detachable parts when needed, and air-dry fully before storage. Keep spares on hand so you can swap tubes immediately when wear or smell indicates replacement.
Mold Inspection and Removal
Check the bladder and tube for visible mold spots, slimy film, or dark staining. Trust your nose if you notice an off smell or metallic taste. If you find contamination, disassemble the reservoir, hose, and bite valve. Soak parts in an appropriate cleaner: bleach solution (1 tsp per 1.5 L) or a commercial bladder tablet for the recommended time.
Finish with vigorous scrubbing, thorough rinsing, and complete air-drying inside-out before reassembly and storage.
Visual Mold Signs
Recognition matters: You’ll spot mold on a hydration bladder as small black, green, or white specks, fuzzy patches, or slimy film inside the reservoir, along seamss and in the tube or bite valve. Check visually for discoloration, streaks, or cloudiness when you hold the bladder up to light.
Inspect seams, corners, and the mouth of the tube where mold residue accumulates and hides. Detach the bite valve and peer inside with a torch or mirror; use a tube brush to reveal hidden spots. If you see clustered specks or fuzzy growth, treat as contamination and deep-clean immediately. Document locations so you can monitor recurrence.
Early, accurate identification using these visual signs prevents extensive biofilm and reduces need for replacement.
Smell And Taste
Notice anything off when you sip? If water smells or tastes strange, act fast. Smell sources include stagnant water, biofilm on walls, and hidden mold in the tube or valve.
Do not rely on taste masking by flavored additives; they hide problems rather than solve them. Rinse immediately, then clean with mild dish soap or a baking soda soak to dislodge residues. For persistent odors, use a lemon juice rinse or a diluted bleach solution following manufacturer limits. Soak 30–60 minutes, then rinse thoroughly.
Flush the tube and bite valve with cleaning solution and squeeze until odor-free. Dry completely upside down with airflow before storing or freezing. If smell or taste returns, repeat cleaning or replace affected parts.
Disassembling The Bladder
Want to know if mold’s taken hold? Start by emptying the bladder and gathering disassembly tools: small screwdriver, pliers, tube brush, and microfiber cloth. Detach the drinking tube and bite valve. Then open any slide- or zip-seal.
Peel back the reservoir opening to expose seams and corners. Visually inspect all surfaces, focusing on creases where biofilm hides. Perform gasket inspection at the cap and valve interfaces; remove and check gaskets for discoloration, stiffness, or fuzzy growth.
If you see dark spots, use a soft brush to loosen debris for targeted removal later. Separate any removable mouthpieces, clamps, or filters so you can dry and clean each piece thoroughly. Reassemble only after complete drying and reinspection.
Safe Cleaning Agents
How will you tell which cleaners to use on mold without damaging your bladder? Choose agents that kill mold yet won’t degrade plastic: diluted bleach (one teaspoon per 1.5 L), hydration-bladder cleaning tablets, or mild dish soap for routine use. Use bleach or tablets for visible mold; soap for light residue.
Don’t use harsh solvents or concentrated acids that warp seams or valves.
Prioritize biofilm removal: soak 30–60 minutes, agitate, then scrub with appropriate brushes to break slimy layers where bacteria growth hides. Rinse thoroughly until no cleaner smell remains. Run the solution through the tube and bite valve. After cleaning, dry completely and store frozen or hung open to prevent recurrence.
Deep Cleaning Techniques
When you spot discoloration, fuzzy patches, or a musty smell inside your bladder or hose, act quickly to inspect and remove mold before it spreads. Open the reservoir, detach the tube and valve, and visually inspect seams and corners with a flashlight.
Use a soft brush and warm water with mild dish soap or a diluted bleach solution (1 tsp per 1.5 L) to scrub affected areas; soak removable parts separately for 30–60 minutes. Rinse thoroughly, then run cleaning solution through the hose to clear biofilm.
Check your bladder’s capacity compatibility with soaking volume to avoid overstretching seals. Choose methods that preserve material durability: avoid high heat or abrasive tools. Repeat until no mold remains and odors are gone.
Drying And Storage
Dry thoroughly after every clean or use to stop mold before it starts: Hang the bladder upside down with the opening and tube propped open to maximize airflow. Turn the reservoir inside-out or use a purpose-built drying rack to expose interior surfaces. Let detachable tubes and bite valves air-dry separately; never stash a damp bladder in a pack.
Inspect seams, corners, and the bite valve for early mold. Scrub any spots with a brush and a mild dish soap solution, then rinse. Match drying and storage to capacity and material: Larger bladders need longer cleaning time and more airflow. Silicone and TPU dry faster than thicker PVC alternatives.
For odor removal, use lemon juice or baking soda before drying. Store fully dry, flat or hung, in a breathable bag or the freezer.
Frequently Asked Questions
Can I Use Vinegar Instead of Bleach for Deep Sanitizing?
You can use vinegar sanitizing as a deep cleaning alternative, but it’s less potent than bleach for killing all pathogens and mold. You’ll need a strong white vinegar soak (30–60 minutes), thorough scrubbing, and complete rinsing to remove residue and odor.
For stubborn mold or heavy contamination, choose bleach or dedicated cleaning tablets per instructions. Regular maintenance, drying, and freezer storage will reduce reliance on harsh sanitizers.
How Do I Sanitize on Multi-Day Backpacking Trips?
Carry a small bottle of mild dish soap, hydration bladder cleaning tablets, and a tube brush for hydration safety and field sanitation. After each day, rinse with warm water, shake hard, and squeeze solution through the tube. Soak tablets for 15–30 minutes when you can.
Dry by hanging upside-down inside-out between uses or store frozen if possible. Flush sugary drinks immediately and scrub monthly deep-clean sessions when you’re home.
Can Dishwasher-Safe Bladders Go in the Oven to Dry?
No, even with dishwasher safety noted, you shouldn’t oven dry your bladder. Dishwasher-safe means it withstands dishwasher temperatures and cycles; it does not mean it can handle direct oven heat. Oven drying risks warping seals, melting plastics, and releasing fumes.
Instead, use upside-down hanging, propping the reservoir open for airflow, or freezer storage once completely dry. For tubes and valves, use tube brushes and separate drying. Avoid hairdryers or high heat that can damage materials.
Are Flavored Drink Residues Safe After Freezing Storage?
No, flavored drink residues aren’t reliably safe after freezing storage. You’ll still need to remove flavor residues before reuse. Freezing slows microbial growth but won’t eliminate sticky sugars or flavor compounds.
Rinse and scrub; use dishwasher drying if bladder is dishwasher-safe. Never use oven misuse to dry. Antimicrobial effectiveness and backpacking sanitization rely on thorough cleaning, occasional deep sanitizing, and drying fully before storing in the freezer.
How Long Do Antimicrobial Linings Remain Effective?
Antimicrobial linings typically retain antimicrobial durability for about 6 months to several years, depending on material, use, and cleaning. You’ll see reduced liner effectiveness with heavy abrasion, harsh cleaners (like frequent bleach), or UV exposure.
To maximize longevity, rinse gently, avoid abrasive scrubbing, and follow manufacturer care. Inspect for odor or discoloration; if you notice decline, replace the bladder to restore full antimicrobial protection and safe performance.
Conclusion
You’ve learned how to inspect, disassemble, clean, and dry your hydration bladder and tubing, so now make it routine. After every few uses, check for mold, smell, and discoloration. Clean with a safe agent (mild soap, baking soda, or diluted bleach) and use brushes or a cleaning kit for deep spots.
Rinse thoroughly, air-dry fully, then store open in a cool, dry place. Regular maintenance prevents contamination and keeps your water tasting fresh.
You may also like: A Water Cooler Dispenser Safely — a related guide worth bookmarking.
You may also like: Smell Well Water Filter Systems — a related guide worth bookmarking.