Why Is My Water Filter Leaking
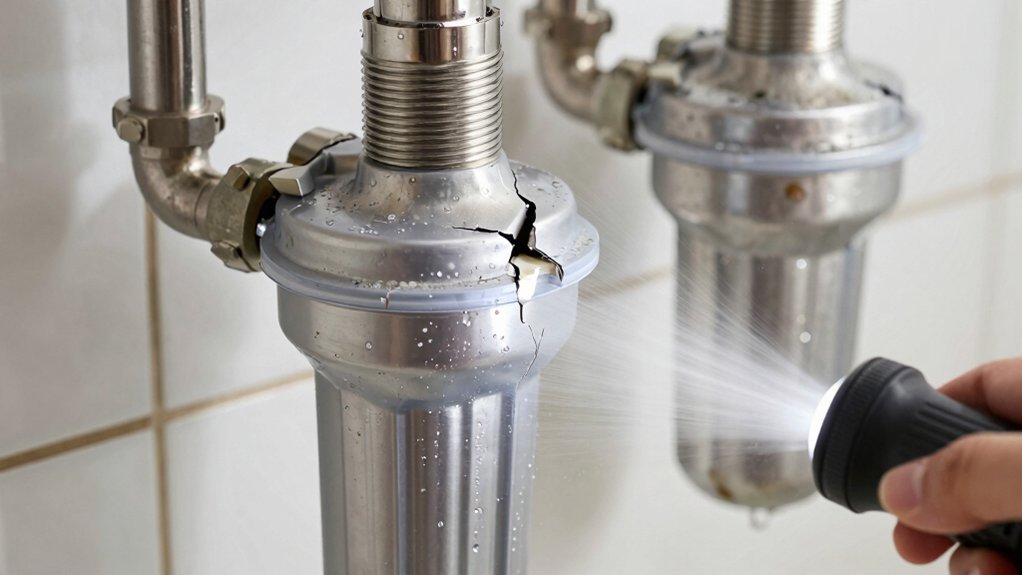
If your water filter’s leaking, it means a seal, O-ring, housing thread or torque procedure isn’t doing its job; pressurized water is escaping where parts meet. Inspect O-rings for cracks, glazing or deformation. Clean and lightly lubricate them, and check grooves for nicks or debris.
Verify the cartridge matches the housing and use the manufacturer torque specs and sequence. Too loose causes drips; too tight damages parts. Keep spares and follow the maintenance steps below to fix it.
Quick Overview
- Misaligned or damaged O-ring/groove causing poor seal: Inspect, clean, and replace O-ring if cracked, glazed, or deformed.
- Incorrect O-ring size or material not matching temperature/chemistry: Measure and fit the proper cross-section and EPDM or approved material.
- Insufficient or uneven torque on housing bolts allowing seepage: Follow manufacturer torque sequence, use a calibrated wrench, then re-torque after pressurizing.
- Over-tightening that crushes O-rings or cracks the housing: Tighten in stages opposing bolts and stop if torque spec is unknown. Contact the maker if unsure.
- Debris, nicks, or sharp edges in the groove or housing preventing a seal: Clean and inspect grooves. Keep spare rings and a small toolkit for immediate replacement.
Filter Housing Pressure Chart
Wondering which housing will handle your system pressure? You’ll pick based on max pressure, temperature, and seal type. Big Blue 10″ handles 100 psi; 20″ variants handle 90–100 psi. Standard 20″ reinforced polypropylene tolerates 125 psi. 3M DC and Watts Big Bubba accept up to 150 and 125 psi respectively.
Match cartridge seals and O-ring material (EPDM common) to temp and chemistry to avoid leaks and seal failure.
| Housing | Max Pressure (psi) | Notes |
|---|---|---|
| Big Blue 10″ | 100 | EPDM O-ring, 40–100°F |
| Big Blue 20″ | 90–100 | Protect from freezing |
| 3M DC/Watts | 125–150 | Higher temp/pressure ratings |
| Standard 20″ | 125 | Reinforced polypropylene, low ΔP |
O-ring Condition Checklist
How often should you check O-rings? You should inspect them at least every 3 months and after any service or leak. Use this quick checklist to spot problems fast and avoid unrelated topics like marketing strategies when you document findings.
- Clean O-rings with mild soap; check for cracks or glazing.
- Stretch gently to test elasticity; replace if brittle or deformed.
- Measure cross-section and diameter to confirm correct size.
- Inspect groove and housing for nicks, debris, or sharp edges.
- Lubricate lightly with approved silicone grease before reassembly.
If any item fails, swap the O-ring immediately. Keep spare rings and a small toolkit handy. Precise inspection prevents most leaks and reduces downtime without guesswork.
Manufacturer Torque Specifications
Check the manufacturer’s torque limits and follow the recommended tightening sequence to avoid uneven stress on housings and fittings. Use the proper torque tools: calibrated torque wrenches or drivers. Know the signs and consequences of over-tightening, like cracked threads or compressed O-rings.
After initial installation, always re-torque to spec once under pressure and again after a short run-in period.
Manufacturer Torque Limits
Why does manufacturer torque matter when you tighten a filter housing or fitting? You need their torque limits to avoid leaks or damage. Follow the spec: under-torque lets seals compress insufficiently, creating drip points; over-torque deforms threads, crushes O-rings, or cracks housings.
Treat torque limits as installation requirements, not suggestions. Use a calibrated torque wrench or a preset tool. Note two word discussion ideas like “safety margin” and “service life” when documenting adjustments. Record applied torque and any deviations during maintenance.
If you lack the correct spec, stop and contact the maker. Guessing invites failures. When replacing parts, match materials and rated torque. Different plastics and metals accept different torque limits; so adjust accordingly to prevent leaks.
Recommended Tightening Sequence
When should you follow a specific tightening sequence? You should follow it whenever the manufacturer specifies torque values or a sequence for housings, head fittings, or multi-bolt clamps.
Start at opposing bolts in stages: finger-tight, half-torque, then final torque to distribute stress evenly and seat O-rings without twisting. Work methodically and recheck after initial pressure-up.
Don’t shortcut steps; uneven tightening can cause leaks, cracked housings, or irreparable damage to sealing surfaces. Use the sequence to prevent distortion that could void a warranty; many manufacturers require correct procedure for warranty claims.
If a bolt won’t reach specified torque, stop and inspect for cross-threading, debris, or damaged parts. Replace damaged fasteners rather than forcing them.
Torque Tools And Types
How tightly should each fitting be fastened? You follow manufacturer torque specifications to prevent leaks and damage. Use a calibrated torque wrench for metal fittings and a torque screwdriver for plastic or small fasteners; they let you repeat torque processes precisely.
Check the spec sheet for inch‑pounds or foot‑pounds, set the tool, and apply smooth, even force until it clicks or reads the target. Pay attention to tool ergonomics: a comfortable grip and correct length reduce slips and overcorrection.
For quick‑connects, use the recommended hand‑tight plus specified fraction of a turn with a wrench if required. Record torque values after installation and recheck during routine maintenance to catch loosening before it causes leaks.
Over-Tightening Consequences
You’ve learned to follow manufacturer torque specs and use the right tools, but over‑tightening can be just as damaging as under‑torquing. If you crank fittings past specified torque, you’ll strip threads, warp housings, and crush seals. Over tightening risks aren’t just theoretical; they create micro‑fractures that grow under pressure and cause sudden leaks.
You should torque to the spec, then stop. Over‑compressed O‑rings lose elasticity and suffer seal damage that lets water bypass the joint. Metal parts stressed by excess torque can distort mating surfaces, preventing proper seating even when reassembled.
Use a calibrated torque wrench, snug to spec, and inspect seals after installation. If you spot deformation or scoring, replace the damaged parts rather than reusing them.
Re-Torque After Installation
Want to make sure leaks don’t sneak back in after installation? After you’ve fitted the filter and tightened fittings, re-torque to the manufacturer’s torque specifications once the system has seen normal pressure and temperature. Use a calibrated torque wrench and follow the sequence in the manual: evenly tighten in incremental steps to avoid distortion of housings or O-rings.
Don’t guess; too little torque invites leaks. Too much risks cracks or damaged seals. Record torque values and check again after 24–48 hours of operation. If you notice seepage, inspect O-rings and connections before changing torque. Keep two word ideas1 and two word ideas2 in mind as reminders to follow the specified values and maintain consistent maintenance records.
Frequently Asked Questions
How Do I Dispose of a Damaged Filter Housing Safely?
Turn off water, contain leaks with absorbent pads or a bucket, and drain remaining water into a safe drain. Wear gloves and goggles. Unwrap the damaged filter housing and separate parts (plastics, metal) for recycling if accepted.
Bag contaminated materials and label them. Follow local hazardous-waste rules for filters with adsorbents or contaminants; contact your municipal waste facility if unsure. Arrange safe disposal or replacement through a licensed recycler or plumber.
Can a Leak Affect My Drinking Water Quality?
Yes, a leak can affect your drinking water quality. If you spot leak detection signs, contaminated outside water or airborne particles can bypass seals, O-rings, or cracked housings and introduce water contaminants into the treated supply.
You should shut off the supply, inspect fittings and housings, and replace damaged seals or cracked parts. Test water if contamination is suspected; consider professional repair to restore proper filtration and prevent health risks.
Will My Warranty Cover Leak-Related Water Damage?
Sometimes, but you’ll need to check specifics. Warranty coverage for leak related damage often excludes secondary losses like flooring or mold; it usually covers defective parts and repair or replacement of the filter itself.
You should review your warranty terms, keep proof of purchase, document the leak, and contact the manufacturer promptly. If coverage is denied, your homeowner’s insurance might cover water damage; so get photos and file claims quickly.
How Long Can I Use Temporary Sealants on a Crack?
You can use temporary sealants for short-term crack management, typically days to a few weeks, while you arrange a proper repair. Don’t rely on them long-term; pressure, temperature, and water exposure will degrade the seal.
Inspect daily for failure, reduce system pressure, and plan replacement of the housing or professional repair within 1 to 4 weeks. If leakage persists or worsens, shut off water and replace the part immediately to avoid damage.
Can Freezing Temperatures Cause Filter Leaks?
Yes, freezing temperatures can cause filter leaks. Water expands when it freezes, creating pressure that cracks housings, stresses connections, and damages O-rings.
To reduce freeze risk, drain and shut off outdoor or unheated units before cold snaps. Insulate housings and pipes; install the system in a protected location.
Installation tips: slope lines to drain, use insulating tape or heat trace, and leave valves accessible for winter shutoff.
Conclusion
If your water filter is leaking, don’t ignore it. Check the housing pressure, inspect and lubricate or replace the O-ring, and follow the manufacturer’s torque specs and tightening sequence.
Use the right torque tool and avoid over-tightening; this can crack parts or deform seals. After installation, re-torque per the manufacturer’s guidance once pressure is stabilized. Doing these practical steps will stop most leaks and keep the system safe and reliable.
You may also like: Water Filter Has Low Flow — a related guide worth bookmarking.